
There is a quiet revolution happening in homes across the country. Spare bedrooms are becoming podcast studios. Basements are transforming into gaming dens and home theaters. Living rooms now double as Zoom call centers and streaming hubs. The common thread running through all these spaces is a need for better sound, not from better speakers or microphones, but from the room itself. Sound absorbing panels have become essential tools for anyone who wants their home to sound as good as it looks. These panels tame the echoes and reverberations that turn clear speech into muddy noise and make music sound like it is being played inside a metal tank. Unlike the foam tiles of decades past, today’s panels are designed to blend into living spaces, available in colors, fabrics, and wood finishes that look like intentional decor rather than acoustic afterthoughts. Whether you are recording vocals, hosting a movie night, or simply trying to hear a conversation over the open-plan kitchen noise, sound absorbing panels deliver a clarity that changes how you experience every sound in your home.
The Difference Between Home Studios and Living Spaces
A home studio and a living room have fundamentally different acoustic needs, and understanding this difference prevents you from over-treating one space or under-treating the other. In a home studio, whether for music, voiceover, or podcasting, the goal is a controlled, neutral acoustic environment. You want to hear exactly what the microphone hears, without the room adding its own coloration. This requires covering a significant percentage of the wall surface, typically twenty to forty percent, with panels placed at first reflection points, behind the listening position, and often on the ceiling. The sound in a treated studio feels intimate and direct, almost like wearing headphones. A living room, by contrast, should never sound completely dead. A little bit of natural reverberation makes voices feel warm and spaces feel alive. The goal in a living space is to reduce harsh echoes and excessive reverberation while preserving a sense of air and openness. Treating ten to twenty percent of the wall surface, focused on the areas where sound reflections cause the most trouble, is usually sufficient. A living room that sounds like a recording studio feels uncomfortable and unnatural. A home studio that sounds like a living room makes recordings sound amateur. The same panels can work in both spaces, but the quantity and placement differ dramatically.
Choosing Panels That Match Your Decor
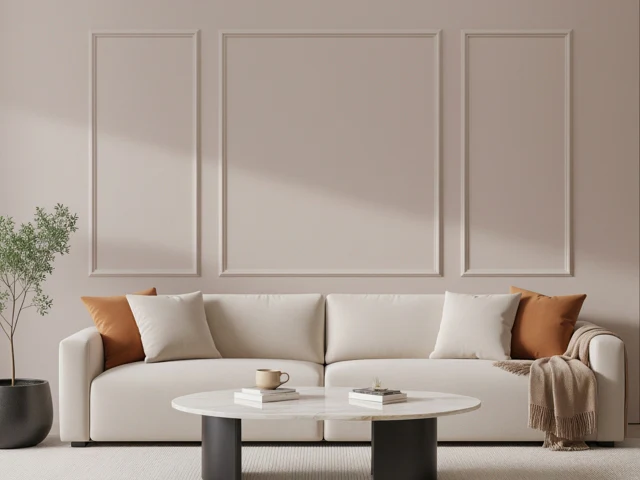
Gone are the days when acoustic treatment meant ugly gray foam or industrial fabric that looked like it belonged in an office cubicle. Today’s sound absorbing panels for home come in finishes that rival high-end wallcoverings. Fabric-wrapped panels are available in hundreds of colors and textures, from neutral linens to bold velvets. You can order panels that match your wall color exactly, making them almost invisible, or choose contrasting shades that turn the panels into deliberate design features. Wood slat panels have exploded in popularity, combining real oak, walnut, or ash veneers with acoustic felt backing. These panels look like high-end architectural detailing while quietly absorbing sound. Printed acoustic panels take customization a step further, allowing you to upload any image or pattern to be printed on acoustically transparent fabric. Your panels could look like a vintage map, a botanical print, or a black-and-white photograph. For renters or those who change decor frequently, peel-and-stick panels in solid colors or simple patterns offer an easily reversible solution. The key is to order samples before committing to a large purchase. Fabric colors look different under your home’s lighting than they do on a website. Wood grains vary dramatically between batches. A small sample panel leaned against your wall for a few days tells you more than any online review.
Identifying Problem Frequencies in Your Space
Not all acoustic problems sound the same, and identifying the specific issue in your room helps you choose the right panels and placement. A room that sounds hollow or echoey, where clapping your hands produces a ringing sound that lingers, suffers from excessive high-frequency reflections. Thin panels, one to two inches thick, made from dense polyester or rigid fiberglass will solve this problem efficiently. A room where voices sound boomy or indistinct, where music lacks punch and definition, suffers from low-frequency buildup. This is common in rooms with concrete floors, large windows, or parallel walls that create standing waves. Thick panels, three to four inches, placed in corners and along wall-floor intersections, are necessary to absorb these longer sound waves. A room where sound seems to come from everywhere at once, where you cannot locate the direction of a voice or instrument, suffers from diffuse reflections scattering sound chaotically. This requires broad coverage with moderately thick panels spread evenly around the room. A simple test helps identify your problem. Play a frequency sweep from twenty to two hundred Hertz on YouTube through decent speakers. Walk around the room and notice where the bass gets louder or quieter. Those variations are standing waves, and they need thick absorption. Then clap your hands sharply. Listen to how long the ring lasts. That is high-frequency flutter echo, and it needs thinner panels placed at reflection points.
Installation Without Damaging Your Walls
The fear of damaging walls stops many people from installing acoustic panels, especially renters or those in new homes. Fortunately, several effective mounting methods leave your walls completely unharmed. For lightweight panels, such as foam or thin polyester, heavy-duty removable adhesive strips work well. Clean the wall with isopropyl alcohol, apply the strips to the back of the panel, then press firmly against the wall. These strips hold securely but remove cleanly when you pull the tab. For heavier fabric-wrapped or wood panels, consider building a simple freestanding frame. Attach your panels to a sheet of quarter-inch plywood using adhesive, then lean the assembly against the wall like a large piece of art. The floor holds the weight, and the wall sees no fasteners. For a more polished look, attach French cleats to the back of your panels and hang them on matching cleats screwed into wall studs. The wall gets a few small screw holes that are easily patched with spackle when you move. For permanent installation in a home you own, construction adhesive combined with finish nails driven into studs provides the most secure hold. This method creates small nail holes that are invisible after filling and painting. Never use adhesive alone for panels weighing more than a few pounds. Gravity always wins eventually.
Placement Strategies for Recording and Listening
If you use your room for both living and recording, you need a hybrid placement strategy that serves both purposes without making the space feel like a studio. Start by identifying your primary listening or recording position. This is where your desk, microphone, or favorite chair sits. Treat the first reflection points from this position first. Have a friend slide a mirror along the side walls and ceiling while you sit in your spot. Anywhere you can see your speakers or microphone in the mirror gets a panel. Next, treat the wall behind your listening position. A single panel centered at ear level kills the delayed reflections that smear transients and blur directionality. For the rest of the room, spread panels more thinly, focusing on large empty wall areas that would otherwise act as perfect reflectors. Avoid placing panels symmetrically on every wall, because a completely dead room sounds unnatural and uncomfortable. Leave one wall, typically the one with windows or bookshelves, mostly untreated to preserve a sense of space. For home studios that also serve as living rooms, consider mounting panels on movable stands or hinged frames. You can swing them into position when recording and fold them flat against the wall when entertaining. This flexibility gives you the best of both worlds without compromising either use.
Measuring Your Success With Simple Tests
You do not need expensive equipment to know whether your acoustic panels are working, but you do need to listen critically. Before installing any panels, record a short voice memo on your phone from your primary listening or recording position. Speak in a normal voice for thirty seconds, then clap your hands twice. Listen to the playback. Notice the hollow, echoey quality, the way your voice seems to come from inside a barrel. After installing your panels, record the same voice memo from the same position. Your voice should sound closer, drier, and more present. The hand claps should be sharp and immediate, with no lingering ring. For a more scientific approach, download a free spectrum analyzer app on your phone. Play pink noise through your speakers and watch the frequency response graph. In an untreated room, you will see peaks and valleys as certain frequencies cancel each other out or build up. After treatment, the graph should be flatter, with fewer dramatic swings. The real test comes over time. Spend an hour in your treated room watching a movie or listening to music, then walk into an untreated room. The untreated room will sound almost painfully bright and echoey by comparison. That contrast is the proof that your sound absorbing panels are working exactly as they should. Your ears have been working overtime to filter out reflections. Now they can finally rest.

