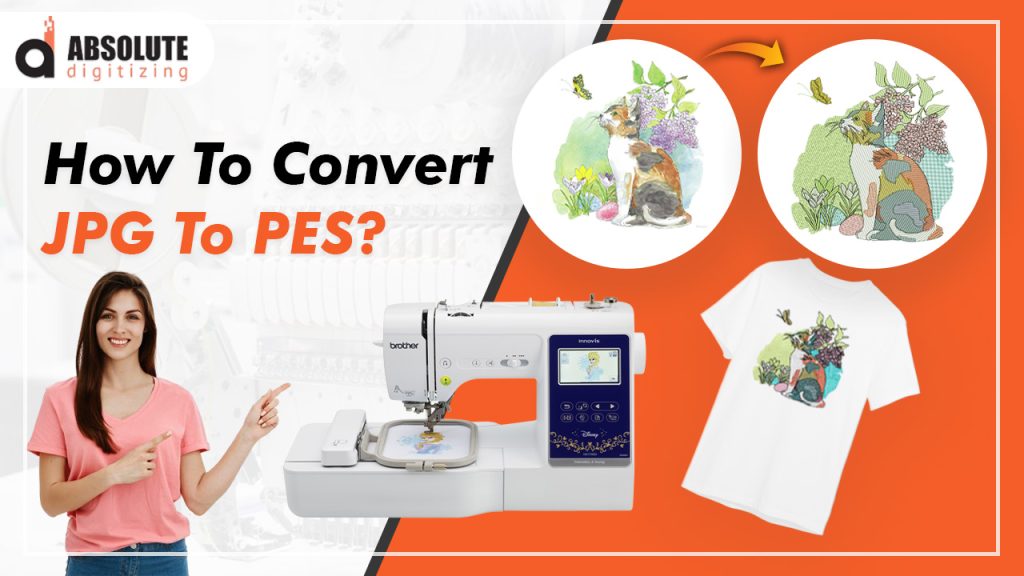
Introduction: Why Convert JPG to PES?
If you own a Brother embroidery machine, you’ve probably discovered it requires PES files to stitch your designs. While JPG images work great for digital displays, they lack the stitch-by-stitch instructions your machine needs. Converting JPG to PES bridges this gap, transforming your favorite images into embroidered reality.
This guide walks you through the easiest methods to convert JPG to PES for embroidery machine. Whether you’re making personalized gifts or branded apparel, these techniques will help you achieve professional results with your Brother machine.
Understanding PES Files
What Makes PES Files Special
PES files contain the precise instructions your Brother machine needs:
✔ Needle placement coordinates
✔ Stitch type assignments (satin, fill, running)
✔ Thread color change points
✔ Optimal stitching sequence
✔ Machine-specific settings
Why JPG Files Don’t Work
JPGs are missing critical embroidery information:
➔ No stitch path data
➔ No fabric-specific adjustments
➔ No thread color instructions
➔ No stabilization techniques
Preparing Your JPG for Conversion
Choosing the Right Image
Best candidates for conversion:
✅ High-contrast designs
✅ Simple backgrounds (or transparent)
✅ Limited colors (6-10 max)
✅ Clear, defined edges
✅ Adequate detail size (text at least 1/4″ tall)
Essential Image Editing
Even with basic tools like Canva or Paint 3D, you can:
- Remove backgrounds – Use magic wand or eraser tools
- Boost contrast – Make edges more distinct
- Simplify colors – Merge similar shades
- Resize appropriately – Remember embroidery size limits
- Save as PNG – Preserves transparency better than JPG
3 Easy Conversion Methods
Method 1: Using Brother’s PE-Design Software
Best for: Brother machine owners
Steps:
- Open PE-Design and select “New from Image”
- Import your prepared JPG/PNG
- Use the auto-digitizing function
- Adjust stitch types and densities
- Export as PES
Pros:
✓ Designed specifically for Brother machines
✓ Good for basic designs
Cons:
✗ Limited advanced features
Method 2: Online Conversion Services
Best for: Quick one-time projects
Recommended Services:
- MyEmbroideryDesigns.com
- AbsoluteDigitizing.com
- Embridery.com
How It Works:
- Upload your image
- Select PES format
- Download your file
Cost: $10-$25 per design
Method 3: Free Software Options
Try:
- Ink/Stitch (free Inkscape extension)
- SewArt (limited free version)
Best for: Hobbyists on a budget
Step-by-Step Conversion Using Hatch Embroidery
Import Your Image
- Click “New from Image”
- Select your prepared file
Auto-Digitize Settings
- Set target size (start with 3″ max)
- Choose fabric type (cotton works well for beginners)
Basic Adjustments
- Assign stitch types:
- Outlines → Satin Stitch
- Large areas → Fill Stitch
- Simplify complex elements
Export as PES
- File → Save As
- Select “PES (Brother)”
- Name your design clearly
Troubleshooting Common Problems
Issue: Design Looks Pixelated
Solutions:
- Start with higher resolution image
- Avoid enlarging small designs
- Simplify intricate details
Issue: Fabric Puckering
Fix:
- Reduce stitch density by 10-15%
- Use appropriate stabilizer
- Adjust upper thread tension
Issue: Thread Breaks
Check:
✔ Needle condition (replace if dull)
✔ Thread quality (use embroidery-specific thread)
✔ Overly dense stitch areas
Pro Tips for Better Results
- Always test stitch on scrap fabric first
- Start simple – Master basic designs before complex ones
- Build a thread library for color consistency
- Label files clearly (include size and fabric type)
- Save original artwork for future adjustments
When to Consider Professional Digitizing
While DIY works for simple designs, professionals excel at:
- Complex company logos
- Photorealistic portraits
- Delicate fabrics (silk, stretch knits)
- Production runs needing perfect consistency
Expanding Your Skills
Next Techniques to Learn:
➔ Manual stitch editing
➔ Creating multi-hoop designs
➔ Adding specialty effects (3D puff)
➔ Digitizing from vector files
The Future of JPG to PES Conversion
Emerging technologies include:
- AI-powered auto-digitizing with learning capabilities
- Mobile apps for conversion on smartphones
- Cloud-based processing – no software installation
- AR previews showing designs on actual garments
Conclusion: Your Embroidery Journey Begins
Converting JPG to PES format unlocks endless creative possibilities with your Brother machine. Remember:
✔ Start with high-quality, simplified images
✔ Choose the conversion method matching your needs
✔ Always test before final projects
✔ Keep learning and experimenting
Your perfectly stitched creations are just a PES file away!
Ready to begin? Pick a simple image and try converting it today. With each project, you’ll develop an eye for what makes designs stitch beautifully.