Embroidery has evolved from traditional hand-stitching to high-tech machine embroidery, but one thing remains crucial—digitizing. Turning a design into a stitch-ready file isn’t just about converting an image; it’s an art form that requires precision, creativity, and technical know-how.
Whether you’re a hobbyist, small business owner, or just curious about embroidery digitizing, this guide will walk you through everything you need to know—from the basics to pro tips for flawless custom embroidery digitizing results.
What Is Embroidery Digitizing?
Embroidery digitizing is the process of converting artwork (like a logo, illustration, or text) into a digital file that an embroidery machine can read. This file contains instructions on stitch types, direction, density, and color changes.
Why Does Digitizing Matter?
- Machine Compatibility – Not all images work as embroidery files; digitizing ensures smooth stitching.
- Quality Control – Proper digitizing prevents thread breaks, puckering, and design distortion.
- Customization – Adjust stitch patterns for different fabrics (e.g., denim vs. silk).
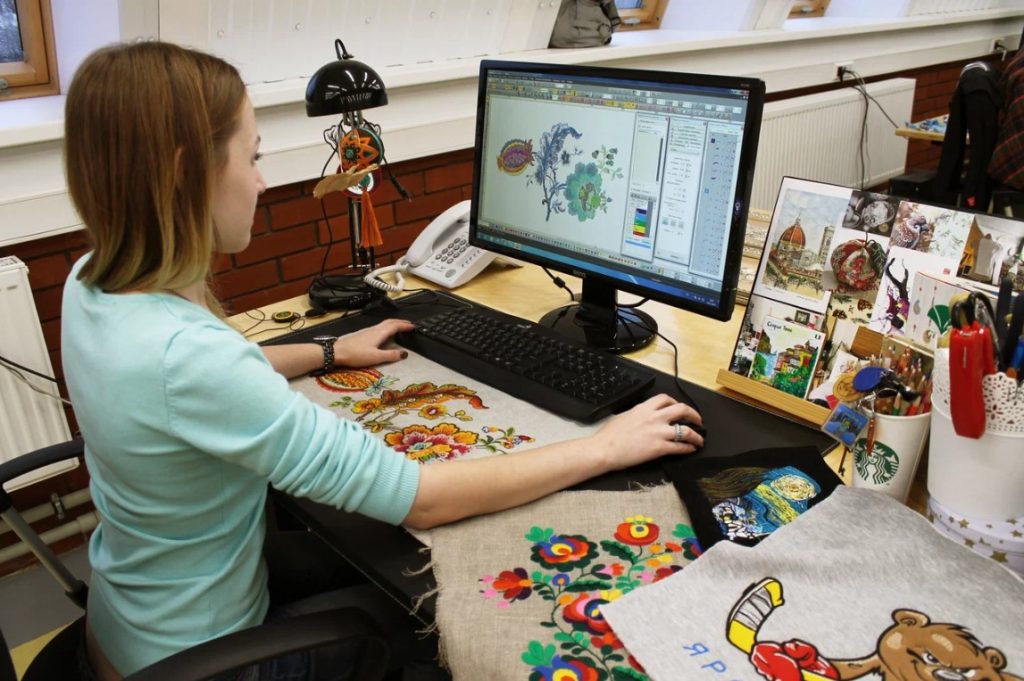
How Does Embroidery Digitizing Work?
Digitizing isn’t just hitting “convert” on software—it’s a detailed process:
1. Choosing the Right Design
- Simple logos, text, and bold graphics work best.
- Avoid overly complex designs with tiny details (they may not stitch well).
2. Using Digitizing Software
Specialized programs like Wilcom, Hatch, or Brother PE-Design translate images into stitches.
3. Mapping Stitch Types
- Fill Stitches – For solid areas (best for large shapes).
- Satin Stitches – For smooth, shiny borders (great for text).
- Running Stitches – Outlines and fine details.
4. Setting Stitch Direction & Density
- Direction affects texture (e.g., horizontal vs. vertical stitches).
- Too much density can cause fabric puckering.
5. Testing & Refining
- Always stitch a sample on similar fabric to check for errors.
DIY vs. Professional Digitizing: Which Should You Choose?
DIY Digitizing (For Beginners)
✅ Pros:
- Cost-effective (no outsourcing fees).
- Great for simple designs and personal projects.
❌ Cons:
- Steep learning curve.
- Time-consuming for complex designs.
Best Software for Beginners:
- SewArt (Auto-digitizing, budget-friendly).
- Embrilliance Essentials (User-friendly, good for monograms).
Professional Digitizing (For Businesses & Complex Designs)
✅ Pros:
- High-quality, optimized files.
- Saves time (experts handle tricky details).
❌ Cons:
- Costs $10–$50+ per design.
Top Professional Digitizing Services:
- Digitizing Buddy (Fast turnaround).
- Absolute Digitizing (Premium quality).
Step-by-Step Guide to Digitizing Your First Design
Step 1: Prepare Your Artwork
- Use high-resolution PNG or vector files (SVG, AI).
- Remove unnecessary details.
Step 2: Import into Digitizing Software
- Open your program and upload the image.
Step 3: Trace & Define Stitch Areas
- Manually outline sections (auto-digitizing often needs tweaks).
Step 4: Assign Stitch Types
- Use fill stitches for large areas, satin stitches for borders.
Step 5: Adjust Stitch Settings
- Set density (0.4mm–0.6mm for most fabrics).
- Avoid too many jump stitches (long threads between sections).
Step 6: Export & Test
- Save as PES, DST, or EXP (depending on your machine).
- Stitch a test run on scrap fabric.
Common Digitizing Mistakes (And How to Fix Them)
1. Puckering Fabric
Cause: Too many stitches or high density.
Fix: Reduce stitch count or use stabilizer.
2. Gaps or Misaligned Stitches
Cause: Poor pathing or incorrect underlay.
Fix: Adjust stitch sequence in software.
3. Thread Breaks
Cause: Tight tension or small, dense stitches.
Fix: Loosen machine tension or redesign dense areas.
Pro Tips for Flawless Embroidery Digitizing
✔ Start Simple – Master basic designs before tackling complex ones.
✔ Use Underlay Stitches – Helps prevent fabric distortion.
✔ Match Stitch Type to Fabric – Satin stitches work well on stiff fabrics; fill stitches suit stretchy materials.
✔ Keep Learning – Watch tutorials, join forums (like Embroidery Legacy).
Final Thoughts
Embroidery digitizing is where creativity meets technology. Whether you’re DIY-ing a small project or outsourcing for professional results, understanding the process helps you achieve stitch-perfect embroidery every time.
Ready to Digitize?
Grab your design, fire up your software, and start creating!
Got questions? Drop them below—we’re happy to help! 🧵✨