
Find Out How To Create A Perfect Finish with our Epoxy Resin Table Guide
Epoxy resin is a wondrous material that can turn an everyday table into a work of art. With just an easy few steps, you can make a lasting and gorgeous table that will make your friends and family members envious)! In this tutorial we’ll show you all the pitfalls to avoid and how to get the perfect finish with our GOERNER brand epoxy resin table tutorial.
Epoxy Resin Table Tutorial Tips
Before you get started, make sure you have the materials you need. You’ll need epoxy resin, a table, gloves, a mixing cup, stirring sticks, a blowtorch and a level. It’s also best to do these tasks in a well-ventilated space to avoid inhaling fumes.
Start by preparing your table. Just make sure it is clean and free of dust. If the surface of your table is not completely smooth, you can sand it down. Now that your table is prepped, it’s time to prepare your epoxy resin. Take the directions on the packet seriously and make sure your mix is spot on.
Then you can pour the epoxy resin in the table. Spread resin with a spreader so that it is evenly coated throughout the surface. If you’d like to add any colour or decorations, now’s the time to do it. You can embellished them with glitter, paint, or small objects such as shells or flowers.
Once happy with your design, apply a blowtorch to the resin to remove any air bubbles. This will give you a professional fit and finish. Allow the resin to cure as directed by the manufacturer. This can be as few as 24 hours or up to 72 hours, depending on the brand.”
Common Blunders to Avoid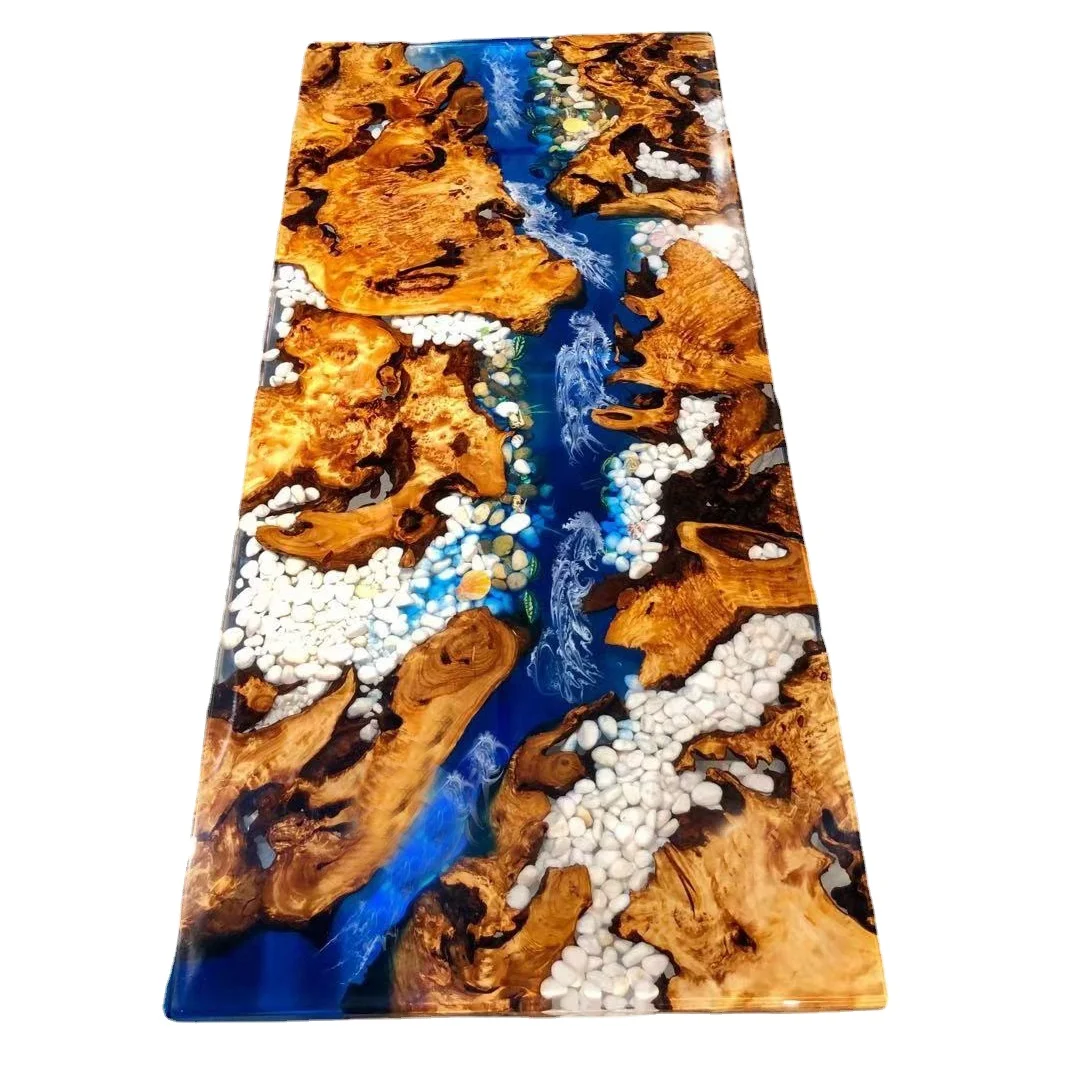
One of the mistakes that novices make when using epoxy resin is that they forget to measure the mix properly. It is crucial that you follow the instructions carefully, so the resin can cure as it should. A sticky and gummy finish can be caused by using the wrong ratio of resin to hardener.
Another mistake is not preparing your table before pouring the resin. Keep the surface clean and flat so everything dries perfectly flat as well. In order to achieve a perfect finish after staining, the table should be sanded down and thoroughly cleaned to remove any dust or dirt.
Pitfalls to Watch Out For
A common trap to avoid is working epoxy resin tabletop in a humid space. The humidity in the air can influence how the epoxy resin dries, causing you to get a cloudy or uneven finish. Be sure to do your work in a dry and well-ventilated location, to prevent this.
Another trap is hurrying the curing. And it’s very tempting to touch or move the table before the resin is completely cured — if you do, you’ll end up with imperfections, or your finger prints in the surface. be patient and let the resin cure all the way before handling the table.
How to Sidestep Common Missteps
To avoid typical pitfalls while working with epoxy resin, it’s important to epoxy resin a table top be patient, read the instructions and be prepared to start over if necessary. Measure the concoction precisely, set the table right, and work in a comfortable place for best results. Avoid the most common mistakes and missteps to make a perfect epoxy resin table that would clear all eyes that have a glance at it.
So here it is, in the end making an piece of furniture from epoxy resin will be nothing but a very enjoyable project epoxy resin wood table in which everyone can participate. If you follow our GOERNER brand epoxy resin table tutorial and not make a common mistakes, you are going to make a perfect finish that everyone will love and ask you to make one for them. And remember to relax and have fun.