
Installing a dishwasher is a fantastic way to add convenience and efficiency to your kitchen. Proper preparation ensures a smooth and successful installation, turning what could be a daunting task into an exciting and rewarding project. This guide will walk you through the essential steps to prepare for your dishwasher installation, ensuring you’re ready to enjoy the benefits of this modern appliance.
Choosing the Right Dishwasher
The journey begins with selecting the right dishwasher for your home. Here’s what to consider:
- Size and Fit: Measure the space in your kitchen to ensure the dishwasher will fit perfectly. Standard dishwashers are typically 24 inches wide, but compact models are available for smaller spaces.
- Features and Functions: Modern dishwashers come with a variety of features like multiple wash cycles, adjustable racks, and energy-saving modes. Choose one that matches your needs and preferences.
- Energy Efficiency: Look for dishwashers with high energy ratings. Energy-efficient models save on utility bills and are environmentally friendly.
Preparing the Installation Site
Once you’ve chosen your dishwasher, it’s time to prepare the installation site:
- Plumbing: Ensure your kitchen has the necessary plumbing setup. A dishwasher requires a hot water supply and a drain connection. Check that your existing plumbing can accommodate these needs.
- Electrical Outlet: Dishwashers need a dedicated power outlet. Make sure there’s an accessible outlet that complies with local electrical codes. If needed, hire an electrician to install one.
- Permits and Regulations: Depending on your location, you might need permits for the installation. Check local building codes and regulations to ensure compliance. Consulting a professional can simplify this process.
Gathering Tools and Materials
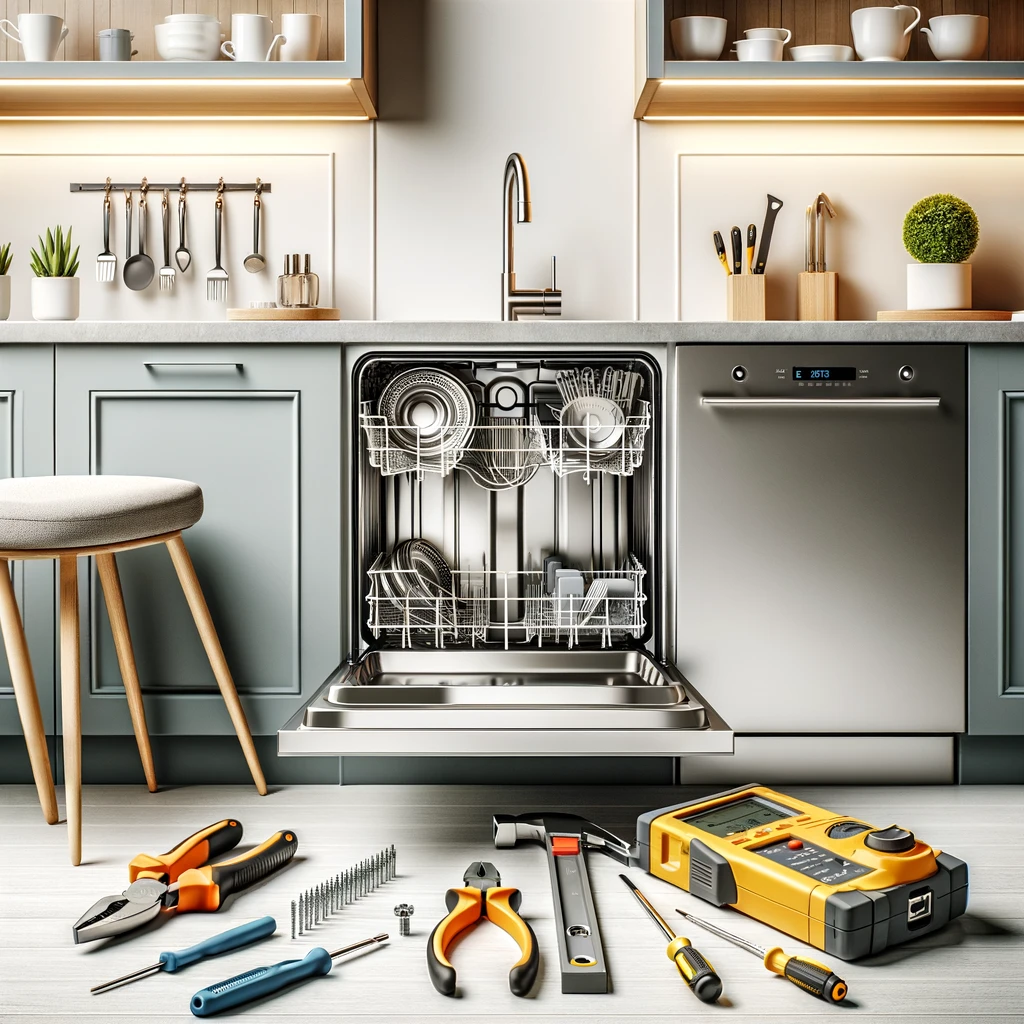
Having the right tools and materials on hand makes the installation process smoother:
- Tools: Gather basic tools such as a screwdriver, adjustable wrench, pliers, and a level. A drill might also be necessary for securing the dishwasher in place.
- Materials: You’ll need items like plumber’s tape, a water supply line, a drain hose, and a power cord if your dishwasher doesn’t come with one.
Preparing the Dishwasher
Before installing, prepare your dishwasher by:
- Unpacking: Carefully unpack the dishwasher and inspect it for any damages. Remove all packaging materials and accessories.
- Reading the Manual: Familiarize yourself with the installation instructions provided by the manufacturer. Each model may have specific requirements and steps.
- Pre-Installation Setup: Attach any necessary fittings, such as the water inlet valve and drain hose, according to the manufacturer’s instructions.
Installing the Dishwasher
Now, you’re ready to install the dishwasher. Follow these steps:
- Positioning: Place the dishwasher in the allocated space. Ensure it’s level and stable using the adjustable feet.
- Connecting Water Supply: Attach the water supply line to the dishwasher’s inlet valve. Use plumber’s tape to secure the connection and prevent leaks.
- Connecting the Drain Hose: Connect the drain hose to the sink drain or a dedicated dishwasher drain. Secure it tightly to avoid any leaks.
- Electrical Connection: Plug the dishwasher into the dedicated power outlet. For hardwired models, it’s best to hire a licensed electrician to ensure safety and compliance with local codes.
- Securing the Dishwasher: Use brackets or screws to secure the dishwasher to the countertop or cabinets, as per the manufacturer’s instructions.
Testing the Installation
After completing the installation, it’s essential to test the dishwasher:
- Running a Test Cycle: Run a test cycle to check for proper operation. Observe the dishwasher to ensure it fills with water, washes, and drains correctly.
- Checking for Leaks: Inspect all connections for leaks during the test cycle. Tighten any loose fittings and ensure all connections are secure.
- Adjustments: Make any necessary adjustments to the leveling or positioning of the dishwasher to ensure optimal performance.
Maintenance Tips
To keep your dishwasher running smoothly, regular maintenance is crucial:
- Cleaning Filters: Regularly clean the filters to prevent clogs and maintain efficiency.
- Inspecting Hoses: Periodically check hoses and connections for signs of wear and tear. Replace them if necessary to prevent leaks.
- Using the Right Detergents: Use detergents recommended by the manufacturer to avoid damaging the appliance.
- Running Hot Water: Occasionally run a hot water cycle with vinegar to remove buildup and keep the interior clean.
Conclusion
Preparing for dishwasher installation doesn’t have to be stressful. With proper planning and preparation, you can ensure a smooth and successful installation. Whether you’re doing it yourself or hiring a professional, following these steps will help you enjoy the convenience and efficiency of your new dishwasher.
Final Thoughts
Embrace the excitement of upgrading your kitchen with a new dishwasher. By following this guide, you’ll be well-prepared to handle the installation process confidently and enjoy the many benefits that come with it.